

2020 has been a difficult year for teachers and students, to say the least, and knowing how to do lecture captures and then edit recorded lectures can be useful to keep the classes going, remotely, and for effective distance learning.
As an educator learning the trades of online learning, recording your lectures and classes can be a very helpful way to help your students follow your course content in asynchronous ways. At VEED, we’re all about finding ways to assist educators interact with students through video content.
In this guide, we’ll be taking a look at:
- How to capture lectures
- Why recording lectures is useful
- How to edit videos with VEED
We hope this guide helps to make your lectures even easier!
How To Do Lecture Capturing
To start off with, let’s take a quick look at the process for lecture capturing online, and how to edit them where needed, too.
1) Finding the right lecture capture software
The best place to start is to find a great lecture capture solution. There are plenty of online video recording tools for lecture capture, and it’s important to do your research when looking at them. Make sure to read reviews, and test them out where possible.
Useful ones include to record video for lectures include:
- VEED’s webcam recorder. With this, you can record and go straight into editing it afterward in one click.
- Ezvid
- Webineria
- Screen-O-Matic
- BlueBerry Flashback Express Recorder
- Panopto
Follow the setup steps, and make sure that the lecture capture software works well on your computer.
2) Time your lecture accordingly
Make sure to pick out a good time for lecture capture, to give yourself to set up your screen recording tool and webcam if needed. There’s nothing worse than fumbling a setup process and missing half of the lecture.
3) Download your video
Once you’ve recorded your session with your lecture capture solution, export your video and review it. Double check that it’s covered everything that needs to be covered, and consider what you’d like to do with this piece of content next.
4) Edit if needed
If necessary, you can edit your lecture recording, too. Sometimes, cropping down a video or adding in subtitles for accessibility is absolutely necessary for making the most out of a project. Having an online video editor can be incredibly helpful here.
Repurpose for other content
Finally, consider how you could repurpose your new video project to enhance the learning experience. If you’re a student, why not convert the video to audio and listen to it as you’re going about your day? If you're a lecturer, maybe even upload the recording to a video platform like YouTube. This is a great way to retain more information from a lecture.
Why Record Lectures?
Now that we’ve covered how to record lectures online, let’s take a quick look at why recording lectures can be so beneficial- for both students and teachers.
1) Good for asynchronous learning and taking notes
To start off with, recording lectures can be a wonderful way to support students with an asynchronous learning style. If you’ve never heard of this learning style before, it refers to learning that happens on a student’s own schedule.
2) The content can be revisited easily
If you’re a student, knowing how to record lectures online can be helpful for studying and preparing for exams. Having your previous lectures at your disposal can make studying a breeze.
Teachers can benefit from recording their lectures as it allows for them to revisit their own work and plan their future lectures easier. It’s a very handy habit to get into.
3) Great for clarifying key points
Recording lectures is brilliant for studying, as it can give students the opportunity to clarify key points and statistics in the lecture.
4) Can be used to support absent students
Finally, knowing how to record lectures online is a great way to make sure that absent or sick students are fully supported with their learning. Keeping up with lectures can be difficult, but pre-recorded content helps.
How To Edit Videos With VEED
Want to amp up yoour video production for better learning? Now that we’ve covered the importance of recording lectures, let’s take a look at how VEED can help you to make the most out of your video content and editing time.
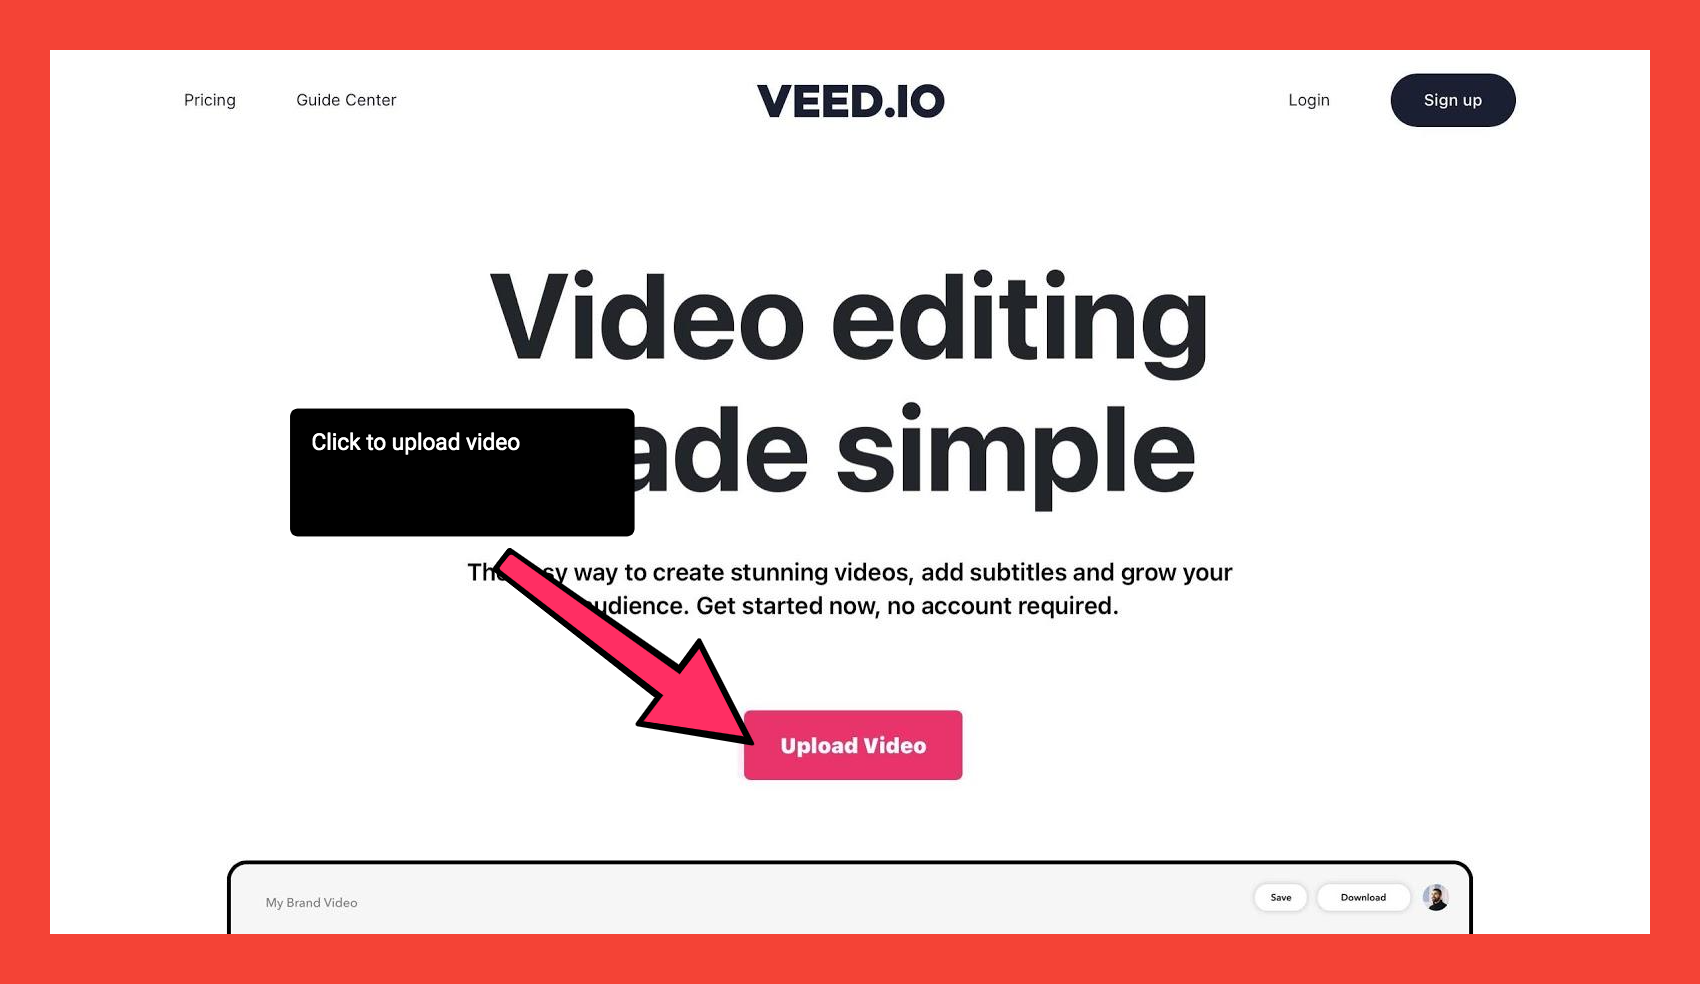
1) Upload your video
To start off with, head to VEED’s online editing tool and upload your desired video by hitting the upload video button in the middle of the screen.
2) Trim, split, merge and crop where needed
You can adjust and crop your video projects easily with VEED. To trim down your clips, head to the timeline at the bottom of the screen and slide the ends of the bar. In the timeline, you can also split a clip into multiple parts or upload and merge new video clips.
You can crop the video by heading to the settings tab in the left hand toolbar, and selecting a size from the size drop down menu.
3) Automatically create accurate subtitles in a few clicks
Subtitles can be added in easily with VEED, which can be great for teachers looking to make their lectures more accessible.
Head to the subtitles button in the left hand toolbar, and choose from automatic subtitles, manual subtitles or external subtitle files. You can then check the accuracy, and even translate the subtitles if needed.
4) Put emojis, progress bars, audiograms, and other elements
There are a number of handy elements that you can add to your video project in VEED, including;
- A progress bar
- A sound wave
- Emojis and stickers

These can help to add more visual depth and character to your video project, and can be found in the elements tab. You can add them simply by selecting them in the relevant menu, then adjusting directly on your video.
5) Draw on your video
Drawing on your lecture can be a unique way of taking notes and contextualizing knowledge, and VEED can help with this too.
Head to the draw button in the left hand toolbar, pick out your brush stroke and draw directly on top of your video content.
6) Add text to your video
To add text to your video, head to the text button in the left hand toolbar and choose your desired format. You can then adjust the text, font, format, size and color in the text menu, and adjust the text on the screen.
7) Download your video
Head to the top right hand corner of your screen and hit the export button. You can choose between downloading an MP4 file or a GIF.
Recording, Capturing And Editing Lectures Should Not Be Hard
All in all, recording lectures is a breeze if you have a good set of tools at your disposal. Knowing how to record lectures online is wonderfully helpful, no matter if you’re a teacher or a student- and it’s especially useful in 2020.
Want to read more helpful content like this or learn more how to use VEED’s simple, yet powerful, video editor? If so, you’re going to love the rest of our website. Please feel free to subscribe to our newsletter and follow us on YouTube (veedstudio).
