

Youtube subtitles are an extremely popular feature on the platform. They allow you to watch videos without needing the sound or, even in some cases, watch videos in a different language. As a Youtube creator, providing subtitles in multiple languages is a great way to expand your channel's reach and audience.
Although adding subtitles in multiple languages would be great for your channel and its audience. How do you do this without spending years learning a new language and spending hours transcribing and translating your videos?
This is where Veed comes in, you can use this tool to translate your youtube subtitles easily and effortlessly.
So in this tutorial, you'll be learning, step by step, how to create SRT files for your Youtube videos and then translate those SRT into multiple languages for your Youtube channel.
1. Create the SubRip subtitle files in the videos original language
To translate your video's subtitles, you're first going to need the subtitles in their original language. If you've already uploaded your video to Youtube, you can head over to your creator studio and click on the Subtitles tab in the left toolbar.

From here you can select the video for which you want to translate the subtitles. Once you've chosen the video you want to translate, before you add another language, you want to download the SRT file.

To do this, hover over the three dots of the automatically transcribed subtitles that Youtube provides of your video and click on Edit on Classic Studio.

Here you'll then be able to click on Actions and download your SRT file.

Youtube can only transcribe and auto-sync your subtitles for the video's original language. So now we have our SRT file in our video's original language, how do we translate our SRT into another language.
This is where Veed comes in.
2. Upload your SRT file to Veed
Head over to veed.io and create a new project. Click on the subtitles tab in the left toolbar and upload your subtitle file. And then, of course, select the SRT file you downloaded from your Youtube video.

If you haven't even uploaded your video to Youtube yet, you can upload it to Veed and subtitles will automatically be transcribe into an SRT file for you.
Once you have your SubRip Subtitle file on Veed, under the options section you have the subtitle translation tool. Select the language you want and click translate.

And within a matter of seconds, your subtitles will be translated into the language you've selected.

Once you have done so, you can then click the Download .SRT button and you now have your subtitle file in a new language.
Upload your new translated subtitles to Youtube
Back in Youtube's creator studio, head back to the subtitles tab and click on the blue Add Language button and select the language your subtitles are in.

Then a new video language line will appear and you can click on Add on the far right of that new line.

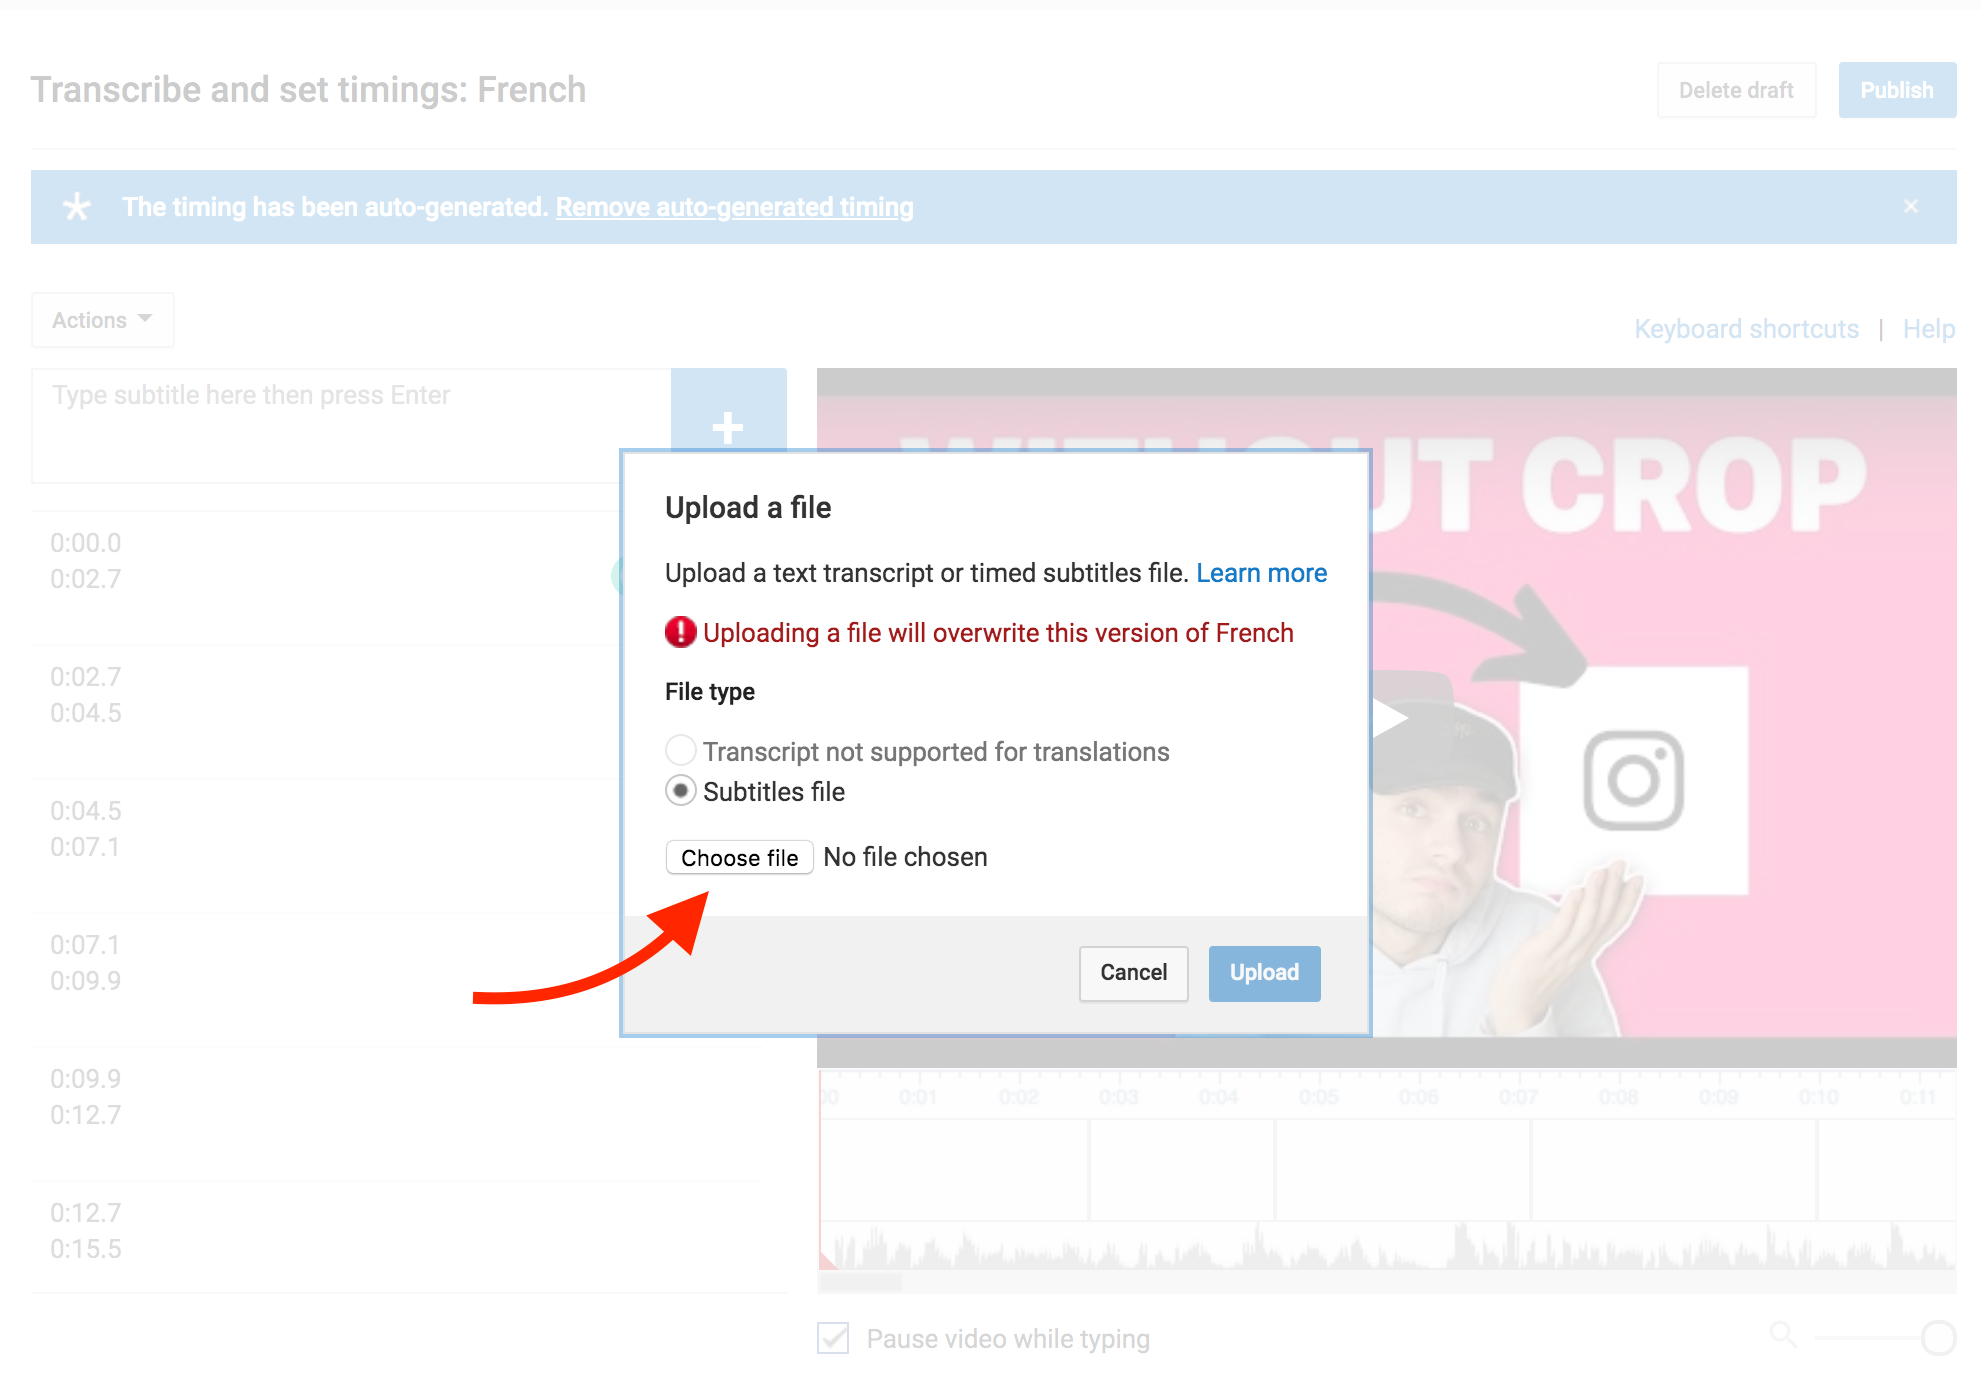
This will take you to the page where you can manage your subtitles and closed captions for the language of the video you selected. Here you'll need to click on Upload a file.

You will then again be taken to another page, where you will finally be able to choose the SRT file you want and upload it as different language subtitles for your video.
Once you are happy with your subtitles, click publish in the top right corner and you are done. You now have subtitles on one of your Youtube videos in a second language.
You can do this as many times as you want. If you want to have your videos subtitled in ten different languages, you can. Just make sure you use a tool such a Veed to save you a bunch of time when it comes to the SRT translating part.
If you have any questions, please don't hesitate to reach out. Good luck!
