
Although TikTok is known for its native and raw content, with over 800 million monthly active users, more and more TikTokers are putting more effort into the editing process to create high quality content.
In this article, you're going to learn two different ways how to edit a TikTok video from start to finish.
- Within the TikTok app
- Using Veed's online video editor
It's going to be a very straightforward and detailed walkthrough of everything you need to know to edit your first TikTok.
So if you're looking to learn how to use all the tools available to master your TikTok editing, you're in the right place.
However, for a guide to how many times you should post a day and caption suggestions, you can check out our Beginners TikTok Guide.
Decide what type of content you want to create
Before you even begin creating your first TikTok, you need to know what style of content you want to make. This will be helpful when it comes to planning the creation of your TikTok video.
Do you want to do lip-syncing videos? Are you making short comedy sketches? Do you want to provide value and create content like Garyvee?
Once you've decided what type of TikToks you want to make, you can get started.
Editing in the TikTok app
When it comes to making TikToks straight from within the app, you should know that the filming and editing processes are kind of merged together in a similar way to Vine. It's not as black and white as traditional video editing where you fill your timeline with all your video first and then begin the editing process.
With TikTok, most of the editing happens as you're filming your video.
Record your TikTok
Now let's just assume you've already downloaded TikTok on your phone and created an account.
When it comes to filming your first TikTok, there's a lot of different options on the screen. So let's go through all of them right now.
Sounds - Tap on this word to choose between a huge selection of music and popular sounds other TikTokers have made.
Flip - Switch between the front a rear-facing camera.
Speed - Change the speed at which you record for a fast or slow motion effect.
Beauty - Toggle between on and off to add a "beauty" filter.
Filters - Choose between a bunch of different effects from Portrait, Landscape, Food, and Vibe.
Timer - Choose a delay of 3 or 10 seconds before TikTok starts recording. You can also drag the playhead to set a limit of how long you want to record for.

Effects - Choose between a huge selection of effects and face filters, with once of the most popular being the TikTok green screen effect.
Upload - Select and compile a bunch of video clips from your camera roll.
Record Button - Below this, you have the choice to choose between 60 seconds, 15 seconds, Templates, or to go live.
So now you know what creative options you have when it comes to creating your TikTok, you should see why editing straight from within the app is different to what most people are used to. With TikTok, you have to apply most filters and effects before you begin recording.
Editing your TikTok
Again, the second phase of making a TikTok provides a lot of different tools and options to allow you to get creative.
First of all, before you add anything else, if you want to trim your TikTok, you can do so by tapping on the Adjust Clips tool in the top right. If you adjust your clips later, it will remove all text and effects that you've added.
So make sure you adjust clips first!

If you didn't add any filters or film with a sound, you can still do so now. As well as use the following creative tools:
Voice Effects - Change your audio with the Chipmunk, Bariton, Vibrato effects, and much more.
Voiceover - Record another audio track over your original recording, allowing you to easily voiceover your TikToks. This is good for making short tutorials on the platform.
Volume - Adjust the levels of your video audio and the sound you add using the two volume sliders provided.
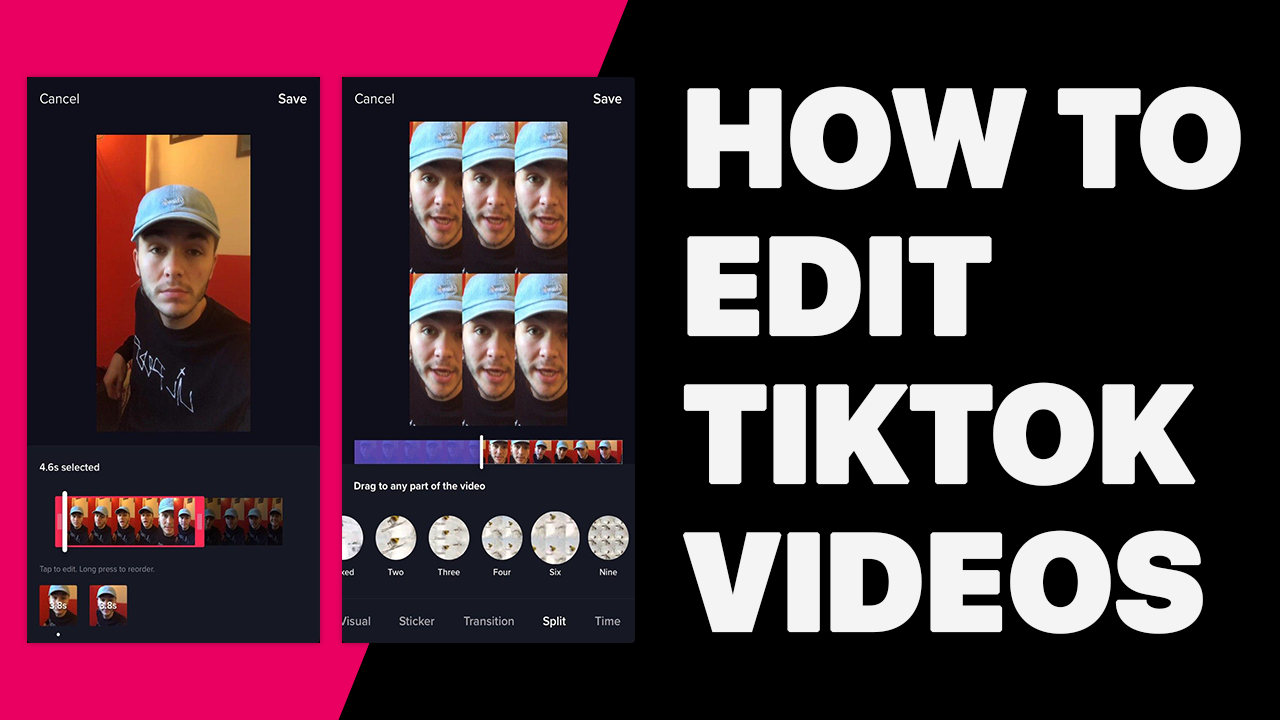
Effects - A variety of different visual effects from adding crazy disco colours, to splitting your video, to adding rain effects.
Text - One of the most popular TikTok tools used on the platform. This allows you to easily add text, change its colours and adjust its time location and duration in the video.
Stickers - Again a huge selection, stickers allow you to add a bunch of different little images provided by TikTok as well as the usual emojis. You can also easily add polls, the time, and date.

Once you're happy with all the effect and edits you've made, click on the pink next button in the bottom right and we're on to the next step.
Posting your TikTok
There are a few things you need to do just before uploading your TikTok. The first thing is adding a caption. You only have 150 characters to work with so the best advice is to make it short and sweet while being relevant to your video.
In your caption, you also have the possibility to tag people and include hashtags. Which both also count towards TikTok's character limit.
Choose the cover for your video, which is basically a video boomerang-like thumbnail of any moment of your video.

At this point, you also have the possibility to make your video public, available to friends only or private. You can also toggle comments, the possibility to duet your video and choose if you want to save that video to your device when you post it.
Then you can choose to share it to other social media platforms too.
Tap the draft button if you haven't finished editing it and want to post it later.
And then finally, tap the Post button once you've finished editing your TikTok in the app and are ready to share it with the platform.
Editing with Veed
If you're looking for a little more creative Freedom, a tool such as Veed allows you to edit and add effects to your video without being limited by TikTok's limits and tools.
1. Upload your video to VEED.IO
The first step is to upload your recorded video to Veed. To do this, simply create a new project and then you'll have the option to upload the video within Veed's video editor.

2. Trim your TikTok
Just like in the TikTok app, you can adjust your clips by using Veed's trim tool. This allows you to remove unwanted video at the beginning or end of your clips. Do this by clicking and dragging either extremity of your clip to the length you want.
3. Add captions
Thanks to Veed, just like on TikTok, you can add captions and customise the font, colour, and placement. However with Veed you have quite a bit more freedom when it comes to the customisation of your subtitles. And the best thing is, you don’t have to do it sentence by sentence.
You can use Veed's Auto Subtitle tool to add captions based on the audio of your video. It will transcribe everything you say into text and add the subtitles at the right timecode for you. We also have an in-depth guide about adding TikTok subtitles.

4. Download your TikTok
Once you've edited your TikTok. You can hit download, Veed will then render the video as an mp4 file.

That is how you edit a TikTok using Veed.
Now you've downloaded it to your computer, you can upload to TikTok from your computer without having to send the video to your phone first.
If you're interested in learning more about TikTok, we also have articles about the TikTok algorithm and how to check your TikTok analytics.
If you have any questions, don't hesitate to reach out to us. Thanks for reading!
